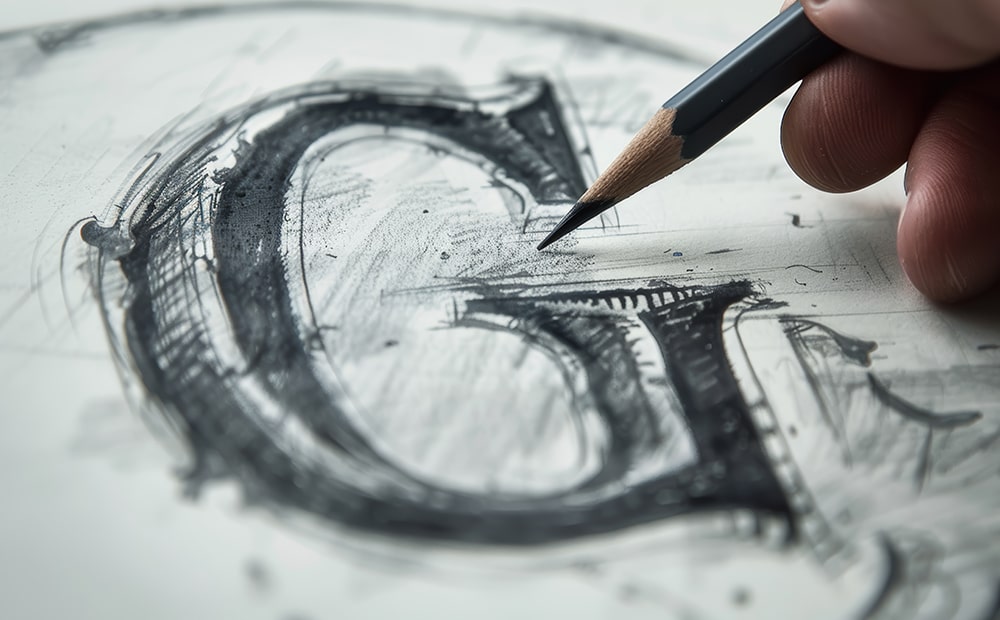
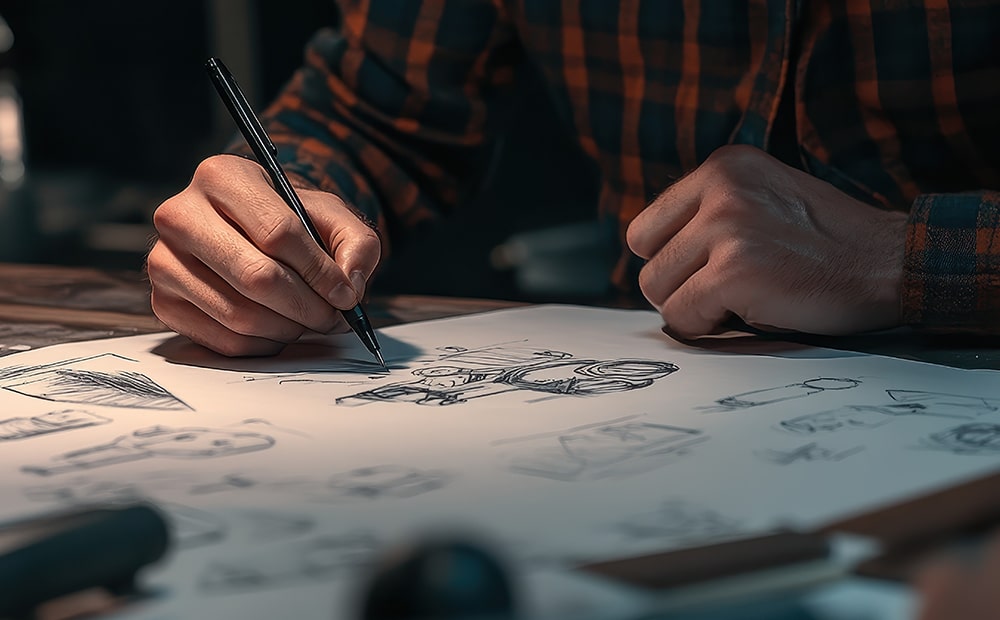
Every brand deserves a logo that speaks volumes, but creating one isn’t as simple as it looks. This guide offers the perfect starting point for aspiring logo designers looking to make their mark. The journey begins not with a computer but a pencil and a blank sheet of rough paper. Forget about perfection; waiting for the “right” materials can cost you precious ideas. Sketching allows you to capture fleeting thoughts and give them shape, turning abstract concepts into something tangible. If you’re about to boot into the ground of logo design, starting with sketches can make the process feel more natural and rewarding. Today, we’ll walk through essential tips and techniques to help you augment your skills, no matter how good or bad your drawing is.
Why Sketching Matters for Logo Design
Think of sketching as a rough draft for your logo. It lets you test ideas quickly and tweak them before you spend time on digital tools. To show you what I mean, drawing multiple versions of what you want on paper can help you spot the one that works. Remember, sketching isn’t about getting it perfect in the first place; it’s about exploring possibilities in a flexible and experimental way.

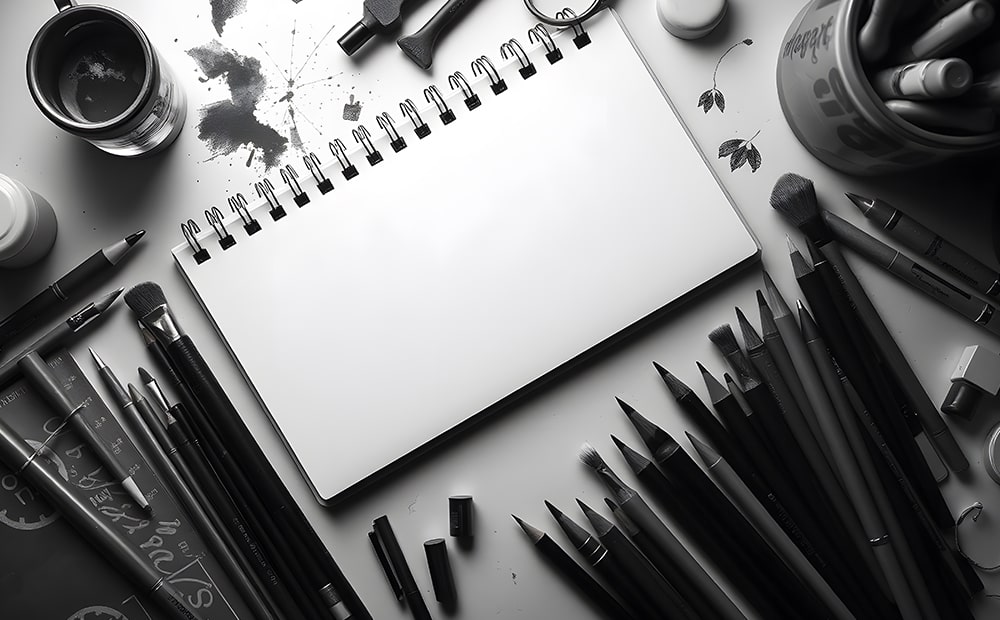
Essential Tools for Logo Sketching
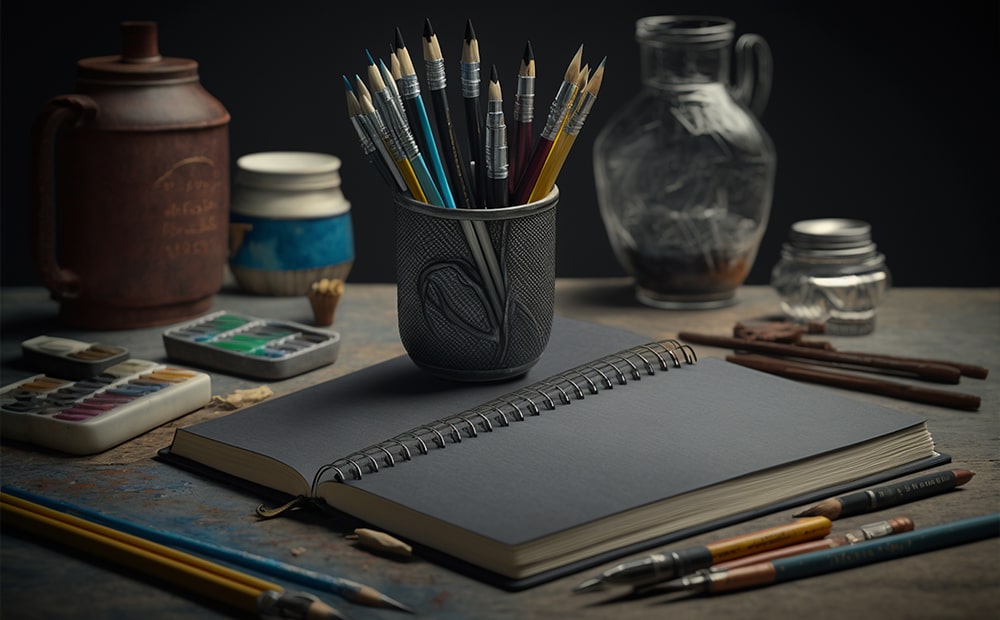
To get started, you’ll need some essential tools. Here’s what you should gather:
- Sketchbook or Paper: Choose a high-quality sketchbook with smooth, white paper.
- Pencils: Use graphite pencils ranging from HB to 6B for different levels of shading and detail.
- Erasers: Get a kneaded eraser for subtle adjustments and a standard eraser for clean lines.
- Ruler: This is used to create guidelines and ensure symmetry.
- French Curves are excellent for drawing precise curves and adding accuracy to intricate designs.
- Sharpener: Keep your pencils sharp for fine details.
- Compass: Useful for drawing perfect circles, often a key element in logo design.
Warm-Up Exercises to Improve Your Sketching Skills
Before diving into logo sketching, warming up can significantly improve your hand precision and control. Here are some essential warm-up practices to get you started:
- Holding Your Pencil: Begin by holding your pencil in a way that allows complete freedom and control over hand movement. Grasp the pencil from the middle, as illustrated in Figure No. I. This grip provides better control and prevents unnecessary tension.
- Drawing Straight Lines: Practice drawing straight lines freehand, horizontally and vertically. Keep your wrist and elbow steady, and move your hand from the shoulder to achieve this as describe in Figure No. II. This technique ensures that your lines stay straight and avoid unintended curves.
- Sketching Circles and Ovals: Fill an entire page with circles and ovals of various sizes. Always move your arm from the shoulder in a smooth, circular motion as describe in Figure No. III. This practice enhances control and fluidity in your sketches.
- Creating Shapes: Draw basic geometric shapes like squares, rectangles, and triangles as illustrated in Figure No. IV These exercises help build muscle memory and improve overall accuracy.
- Hatching and Cross-Hatching: Experiment with shading techniques like hatching (parallel lines) and cross-hatching (intersecting lines) to add depth and texture to your sketches. As shown in Figure No. V
Choose Top Logo Design Company in Karachi
Contact us now and let's embark on the journey to online success together!
Mastering Basic Techniques
After practising warm-up exercises, it’s time to start with the fundamental techniques that form the cornerstone of logo design. These techniques will help augment your skills and ensure your designs are professional and visually appealing.
- Symmetry and Proportions: Symmetry and balance are essential in logo design, making your work visually harmonious and appealing. Use guidelines, such as a central axis or grid lines, to maintain proportion and consistency across your design elements. See figure No VI.
- Curves with French Curves: French curves are specialized drawing tools made from plastic or metal, designed to help create smooth, consistent arcs and curves. They come in various shapes and sizes, allowing you to draw intricate, precise curves that are difficult to achieve freehand. Whether you’re designing a logo with elegant swirls or rounded edges, French curves are an indispensable tool to add finesse and accuracy. As shown in Figure No. VII
- Angles with Set Squares: Set squares are the go-to tool to draw sharp, accurate angles. These triangular rulers are perfect for creating precise 90°, 60°, or 30° angles in your designs. They’re handy for logos with geometric or angular elements, helping you maintain a clean and professional appearance as seen in Figure No. VIII.
- Layering for Precision: Start your sketches with light, tentative strokes to outline the basic structure of your design. This gives you room to make adjustments without committing to hard lines. Once the structure is finalized, reinforce it with darker, more defined lines to bring your design to life as describe in Figure No IX
By incorporating these tools and techniques into your workflow, you’ll achieve cleaner and more professional logo sketches. Remember, consistent practice and experimentation with these essential tools are key to mastery.
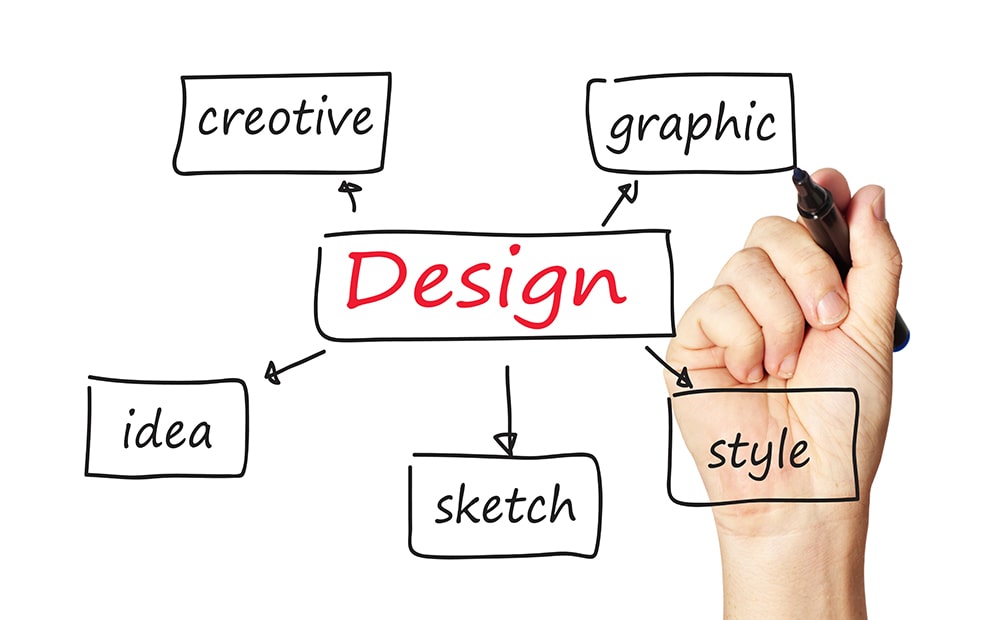
Exploring Creative Ideas
Logo sketching is as much about creativity as it is about technique. Start by brainstorming concepts related to the brand’s identity. Sketch multiple variations of each idea, combining shapes, text, and symbols to represent the brand effectively.
The section on refining your sketch is clear and concise, but it could be expanded to provide more value and better guide the reader. Here’s how you can enhance it:
Expanded Refining Process
Refining Your Sketch
Once you’ve sketched your initial ideas, it’s time to polish and perfect them to ensure they align with your vision and look professional. Here’s how to refine your logo sketches:
- Clean Up Stray Lines
- Go over your sketch and erase unnecessary or stray lines. Focus on smoothing edges and creating a clean, cohesive outline for your design.
- Enhance Details
- Add finer details that define your design. This could include intricate patterns, texturing, or small embellishments that make the logo unique.
- Use Precision Tools
- Use tools like rulers, French curves, and set squares to ensure accurate lines, arcs, and angles. Precision is key to creating a logo that looks polished and professional.
- Balance and Symmetry
- Reassess the symmetry and proportions of your design. Use guidelines or grids to verify alignment and make adjustments where necessary.
- Experiment with Line Weights
- Vary the thickness of your lines to emphasize certain parts of the design. Thicker lines add boldness, while thinner lines give a delicate touch.
- Review and Revise
- Take a step back and review your sketch with fresh eyes. Consider feedback from peers or clients to identify areas for improvement or clarification.
- Digitization Preparation
- Ensure your sketch is ready for digitization if you plan to convert it into a digital format. A clean, well-refined sketch will make the vectorization process smoother.
This extended version elaborates on the process and incorporates practical advice and tools that can add value to the reader’s learning experience. Let me know if you’d like any further adjustments!
Choose Top Logo Design Company in Karachi
Contact us now and let's embark on the journey to online success together!
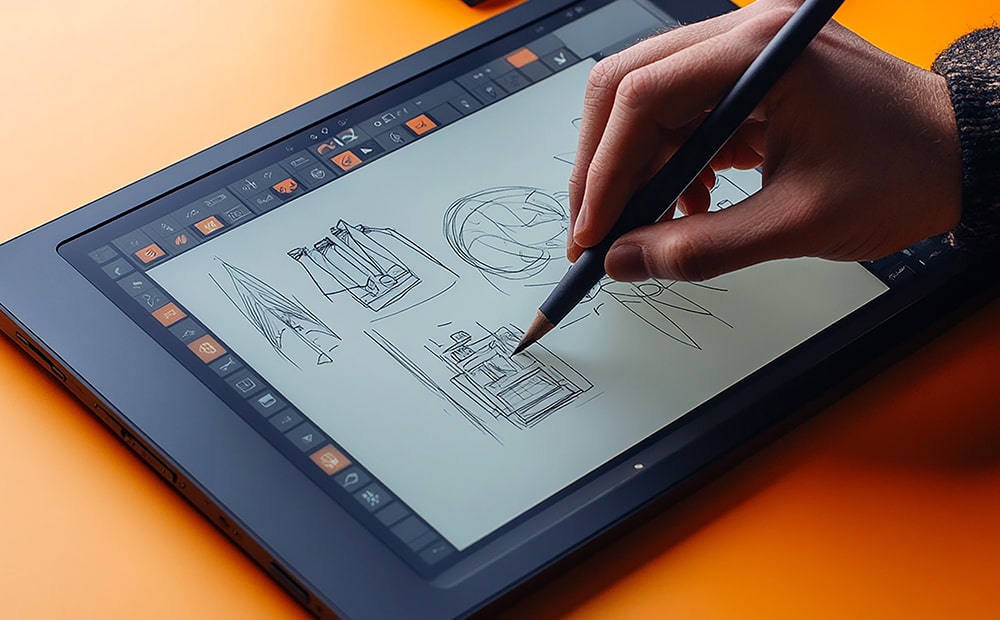
Transitioning from Sketch to Digital Design
After refining your sketch, the next step is to bring it to life digitally. Adobe Illustrator, a powerful vector design tool, is ideal for transforming your hand-drawn ideas into professional, scalable logos. Follow these steps to digitize your sketch:
- Scan or Photograph Your Sketch
- Ensure your sketch is clean and well-lit, free of shadows or distortions. Use a scanner or a high-resolution camera to capture your design. Save the File in a standard format such as JPEG or PNG.
- Import into Illustrator
- Open Adobe Illustrator and create a new document with appropriate dimensions. Use the File> Place option to import your scanned sketch into the canvas. Position it as your base layer and lock this layer to avoid accidental movement.
- Trace Your Sketch
- Use the Pen Tool: The Pen Tool is essential for creating precise paths. Start tracing your sketch by outlining shapes, curves, and angles.
- Utilize the Pencil Tool: For freehand tracing, the Pencil Tool offers more flexibility. Adjust the smoothing setting to refine your lines.
- Refine with Shape Tools: Use the Rectangle, Ellipse, and Polygon tools to draw perfect geometric shapes where needed.
- Adjust Line Weights and Strokes
- Define the character of your logo by modifying line weights—experiment with strokes to add depth and variety to your design.
- Apply Colors and Gradients
- Select a colour palette that complements your brand’s identity. Use the Eyedropper Tool to match colours or apply gradients for added sophistication. The Swatches Panel helps maintain consistency.
- Check Alignment and Symmetry
- Illustrator’s Align Panel ensures precise alignment of elements. Use guides and grids to double-check proportions and symmetry.
- Refine with Pathfinder and Shape Builder
- Pathfinder Panel: Combine, subtract, or intersect shapes to create complex designs easily.
- Shape Builder Tool: Merge or edit overlapping shapes interactively for cleaner and more dynamic results.
- Typography (Optional)
- Select fonts that align with your brand’s personality if your logo includes text. The Type Tool allows you to add, adjust, and stylize text.
- Save and Export
- Save your project in Illustrator’s native .AI format for future editing. Export the final logo in vector formats like SVG or PDF for scalability and PNG or JPEG for web use.
Following these steps, your hand-drawn sketch will evolve into a polished, professional logo ready for diverse applications. Let me know if you’d like further details or additional refinements!
Let’s Recap
Sketching is a rewarding skill that can enhance your logo design skills. With the right tools, practice, and attention to detail, you can create stunning and trendy logos that resonate with brands and audiences. So, without making any delay, grab your sketchbook, start practising, and watch your creativity grow.
By mastering the art of sketching, you lay the groundwork for drafting logos that are visually appealing while deeply meaningful. Happy sketching!