Using Schema Markup on your website is one efficient method for raising your business’s online visibility and search engine ranking. However, to maximize its effectiveness, you need to develop a comprehensive plan that fits your particular business goals.
Various Schema Types Are Available
Google presently supports over 50 schemas, and you can implement dozens of others.
Review the list to see what pertinent Schema you may incorporate into your website. The following are a few of the most prevalent schema forms:
- Local business data
- Events
- Recipes
- Movie listings
- Reviews
- Reservations
- Articles
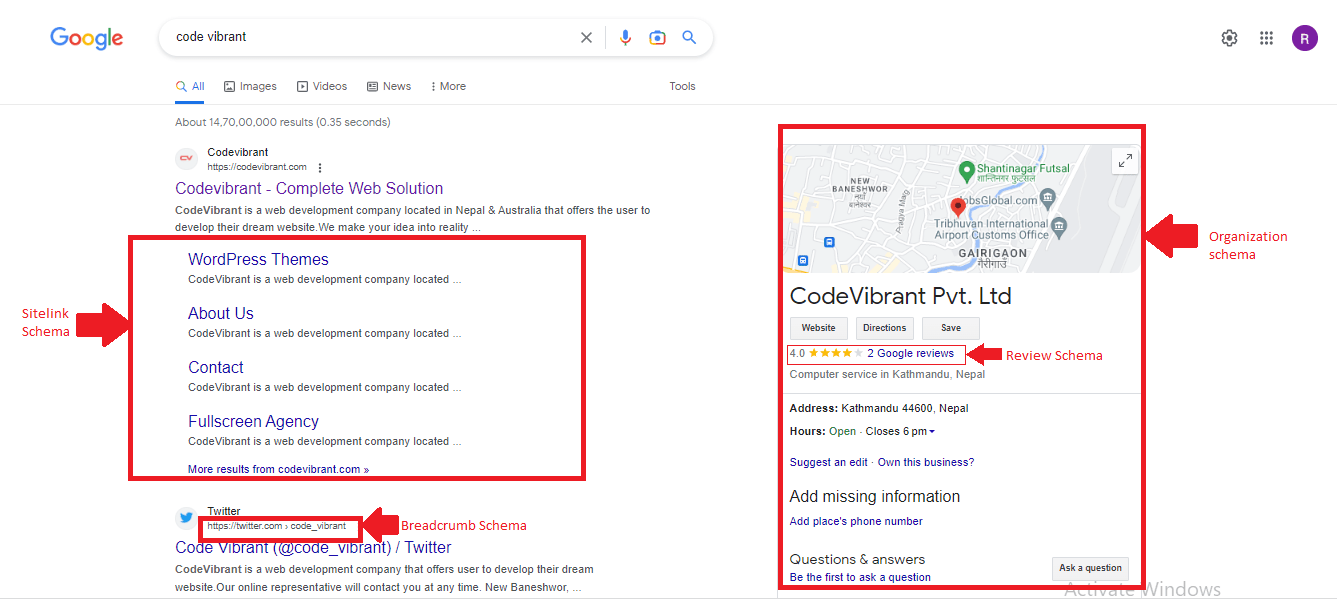
How to Check for Schema Markup That Already Exists
To find out if your website has any installed schema, you can use Google’s Structured Data Testing Tool. There are instances when your WordPress theme comes with built-in schema markup.
You can paste it into your site’s code or use the URL on your website.
How to Configure WordPress using Schema
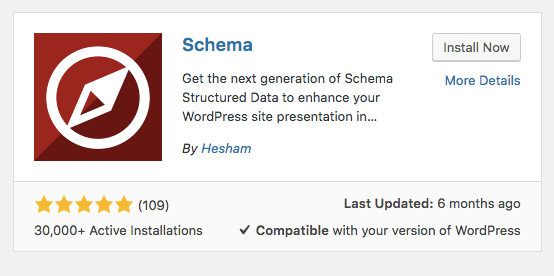
Install the plugin
The Schema plugin is the simplest method for adding Schema to your website. It integrates with the Yoast SEO plugin and operates with any existing schema.
To install this plugin, go to Plugins -> Add New in your WordPress dashboard and look for “Schema.”
To begin setting the plugin, install and activate it, then navigate to Schema -> Settings.
Choose Top SEO Services in Karachi
Contact us now and let's embark on the journey to online success together!
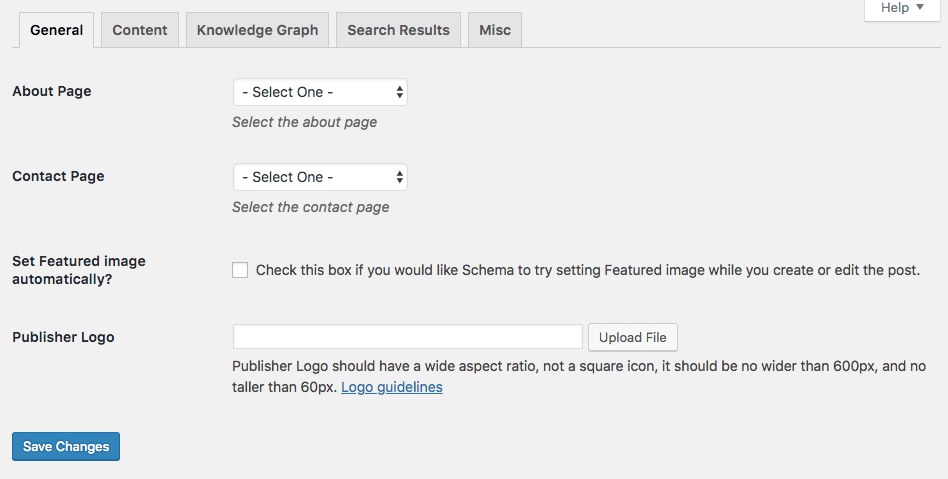
Activate & Start Configuration
Enter your website’s essential details, such as the address of your contact and about pages, and upload your logo.
Completing the search results, knowledge graph, content, and supplementary parts can help you optimize your site for each of those areas.
After that, you may add a particular schema to a post type or category by going to Schema -> Types.
Choose Top SEO Services in Karachi
Contact us now and let's embark on the journey to online success together!